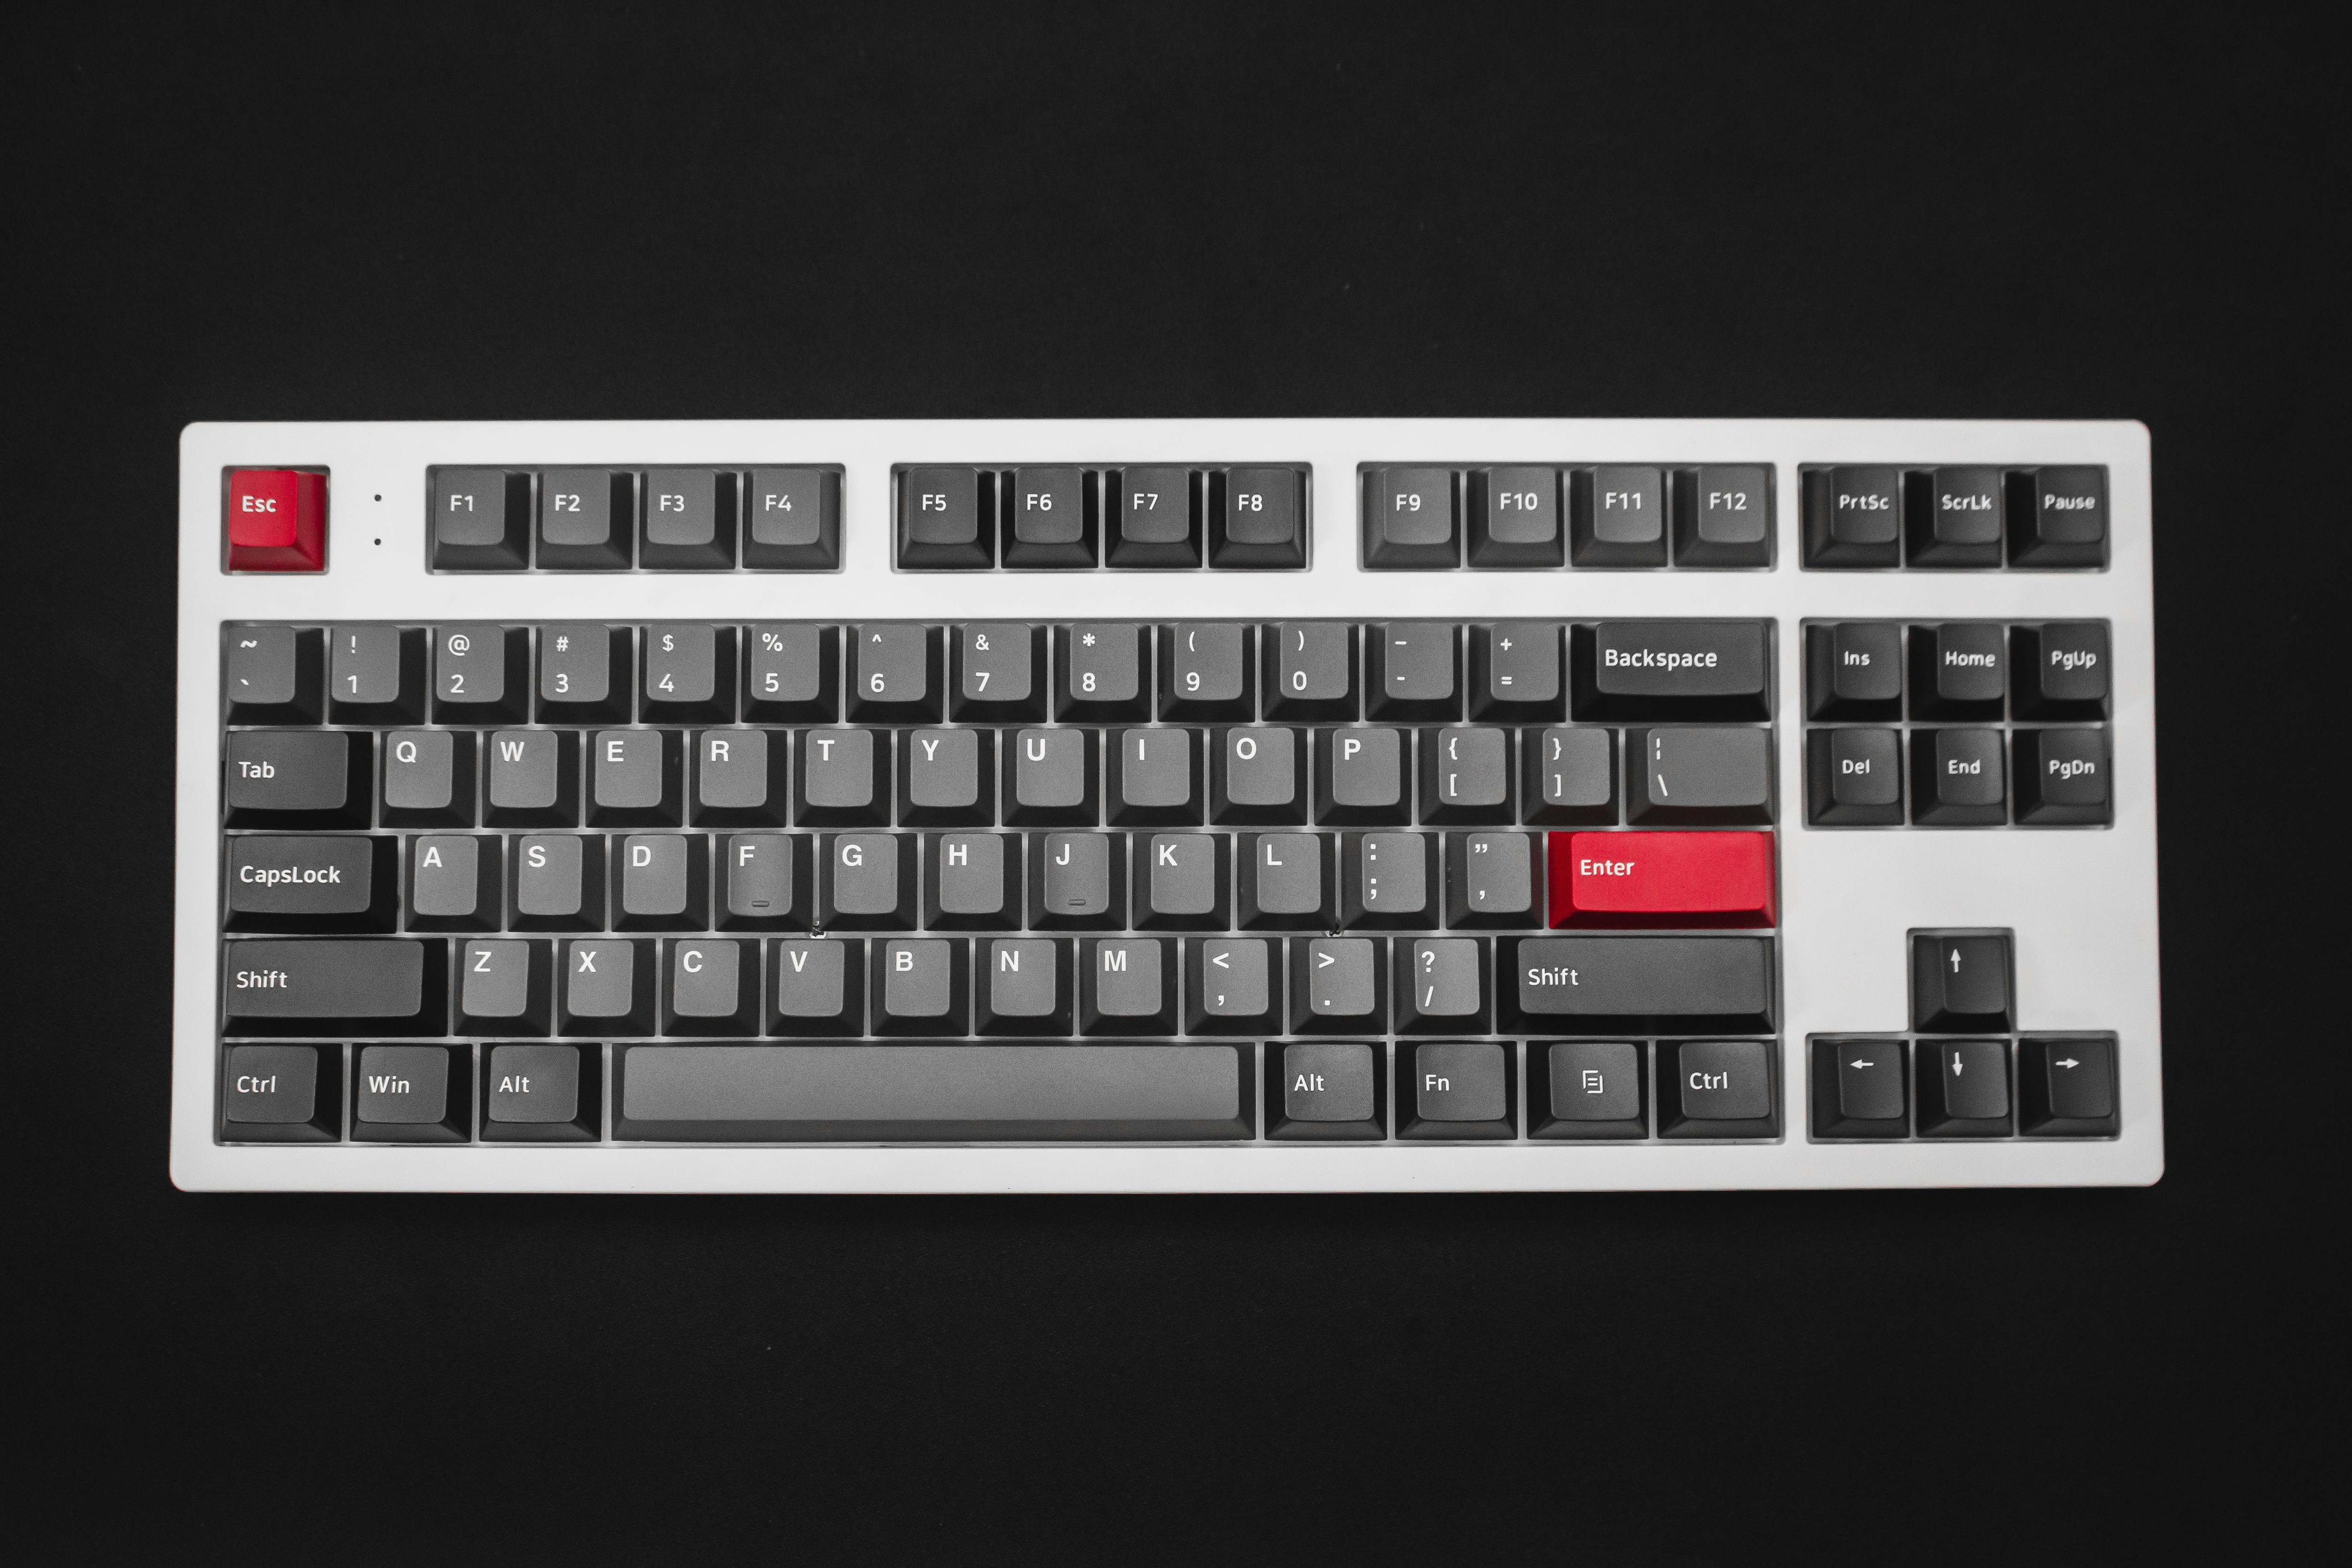
Why Clean Your Mechanical Keyboard?
Mechanical keyboards are magnets for dust, crumbs, hair, and skin oils. Over time, this buildup not only looks unsightly but can also affect switch performance — debris can cause keys to feel gritty, stick, or even stop registering properly. Regular cleaning extends the life of your keyboard, maintains that satisfying typing feel, and keeps your workspace hygienic. Studies have shown that keyboards can harbor more bacteria than a toilet seat, so a cleaning routine is about both performance and health.
Whether you're a casual user or an enthusiast with a $500 custom build, proper maintenance is essential.
Quick Clean: Compressed Air and Brush
A quick clean should be done weekly or bi-weekly to prevent buildup. Start by unplugging your keyboard. Hold it upside down and give it a few gentle shakes to dislodge loose debris. Use a can of compressed air held at a 45-degree angle, blowing between the keycaps in short bursts — never hold the can upside down as this can spray liquid propellant onto your board.
Follow up with a soft-bristled brush (a clean makeup brush or dedicated keyboard brush works consistently) to sweep away remaining dust from the surface and between keycaps. For the final touch, wipe down the keycaps and case with a microfiber cloth lightly dampened with isopropyl alcohol — this removes oils and kills bacteria without damaging the plastic.
Deep Clean: Keycap Removal, Soaking, and Case Wipe
Every 3-6 months, your keyboard deserves a thorough deep clean. Begin by taking a photo of your keyboard layout for reference. Use a keycap puller to remove all keycaps — pull straight up with a gentle wiggling motion to avoid damaging switch stems. Place keycaps in a bowl of warm water with a drop of mild dish soap and let them soak for 30-60 minutes. While the keycaps soak, use compressed air and a brush to thoroughly clean the exposed switch plate and PCB area — pay special attention to the spaces around stabilizers where debris tends to accumulate.
Use cotton swabs dipped in isopropyl alcohol to clean stubborn grime from the case and plate. Rinse the keycaps thoroughly with clean water, spread them out on a towel, and let them air-dry completely (usually 4-6 hours) before reinstalling.
Never use a hairdryer or heat source as this can warp the ABS or PBT plastic.
Reassembly and Maintenance Tips
Once everything is completely dry, reinstall the keycaps using your reference photo. Press each keycap firmly until it clicks into place, and test every key to ensure proper registration. To keep your keyboard cleaner for longer, consider using a keyboard cover when not in use, keeping food and drinks away from your desk, and washing your hands before typing sessions.
A small desk vacuum or USB-powered keyboard vacuum can also be a worthwhile investment for quick daily maintenance between deep cleans.