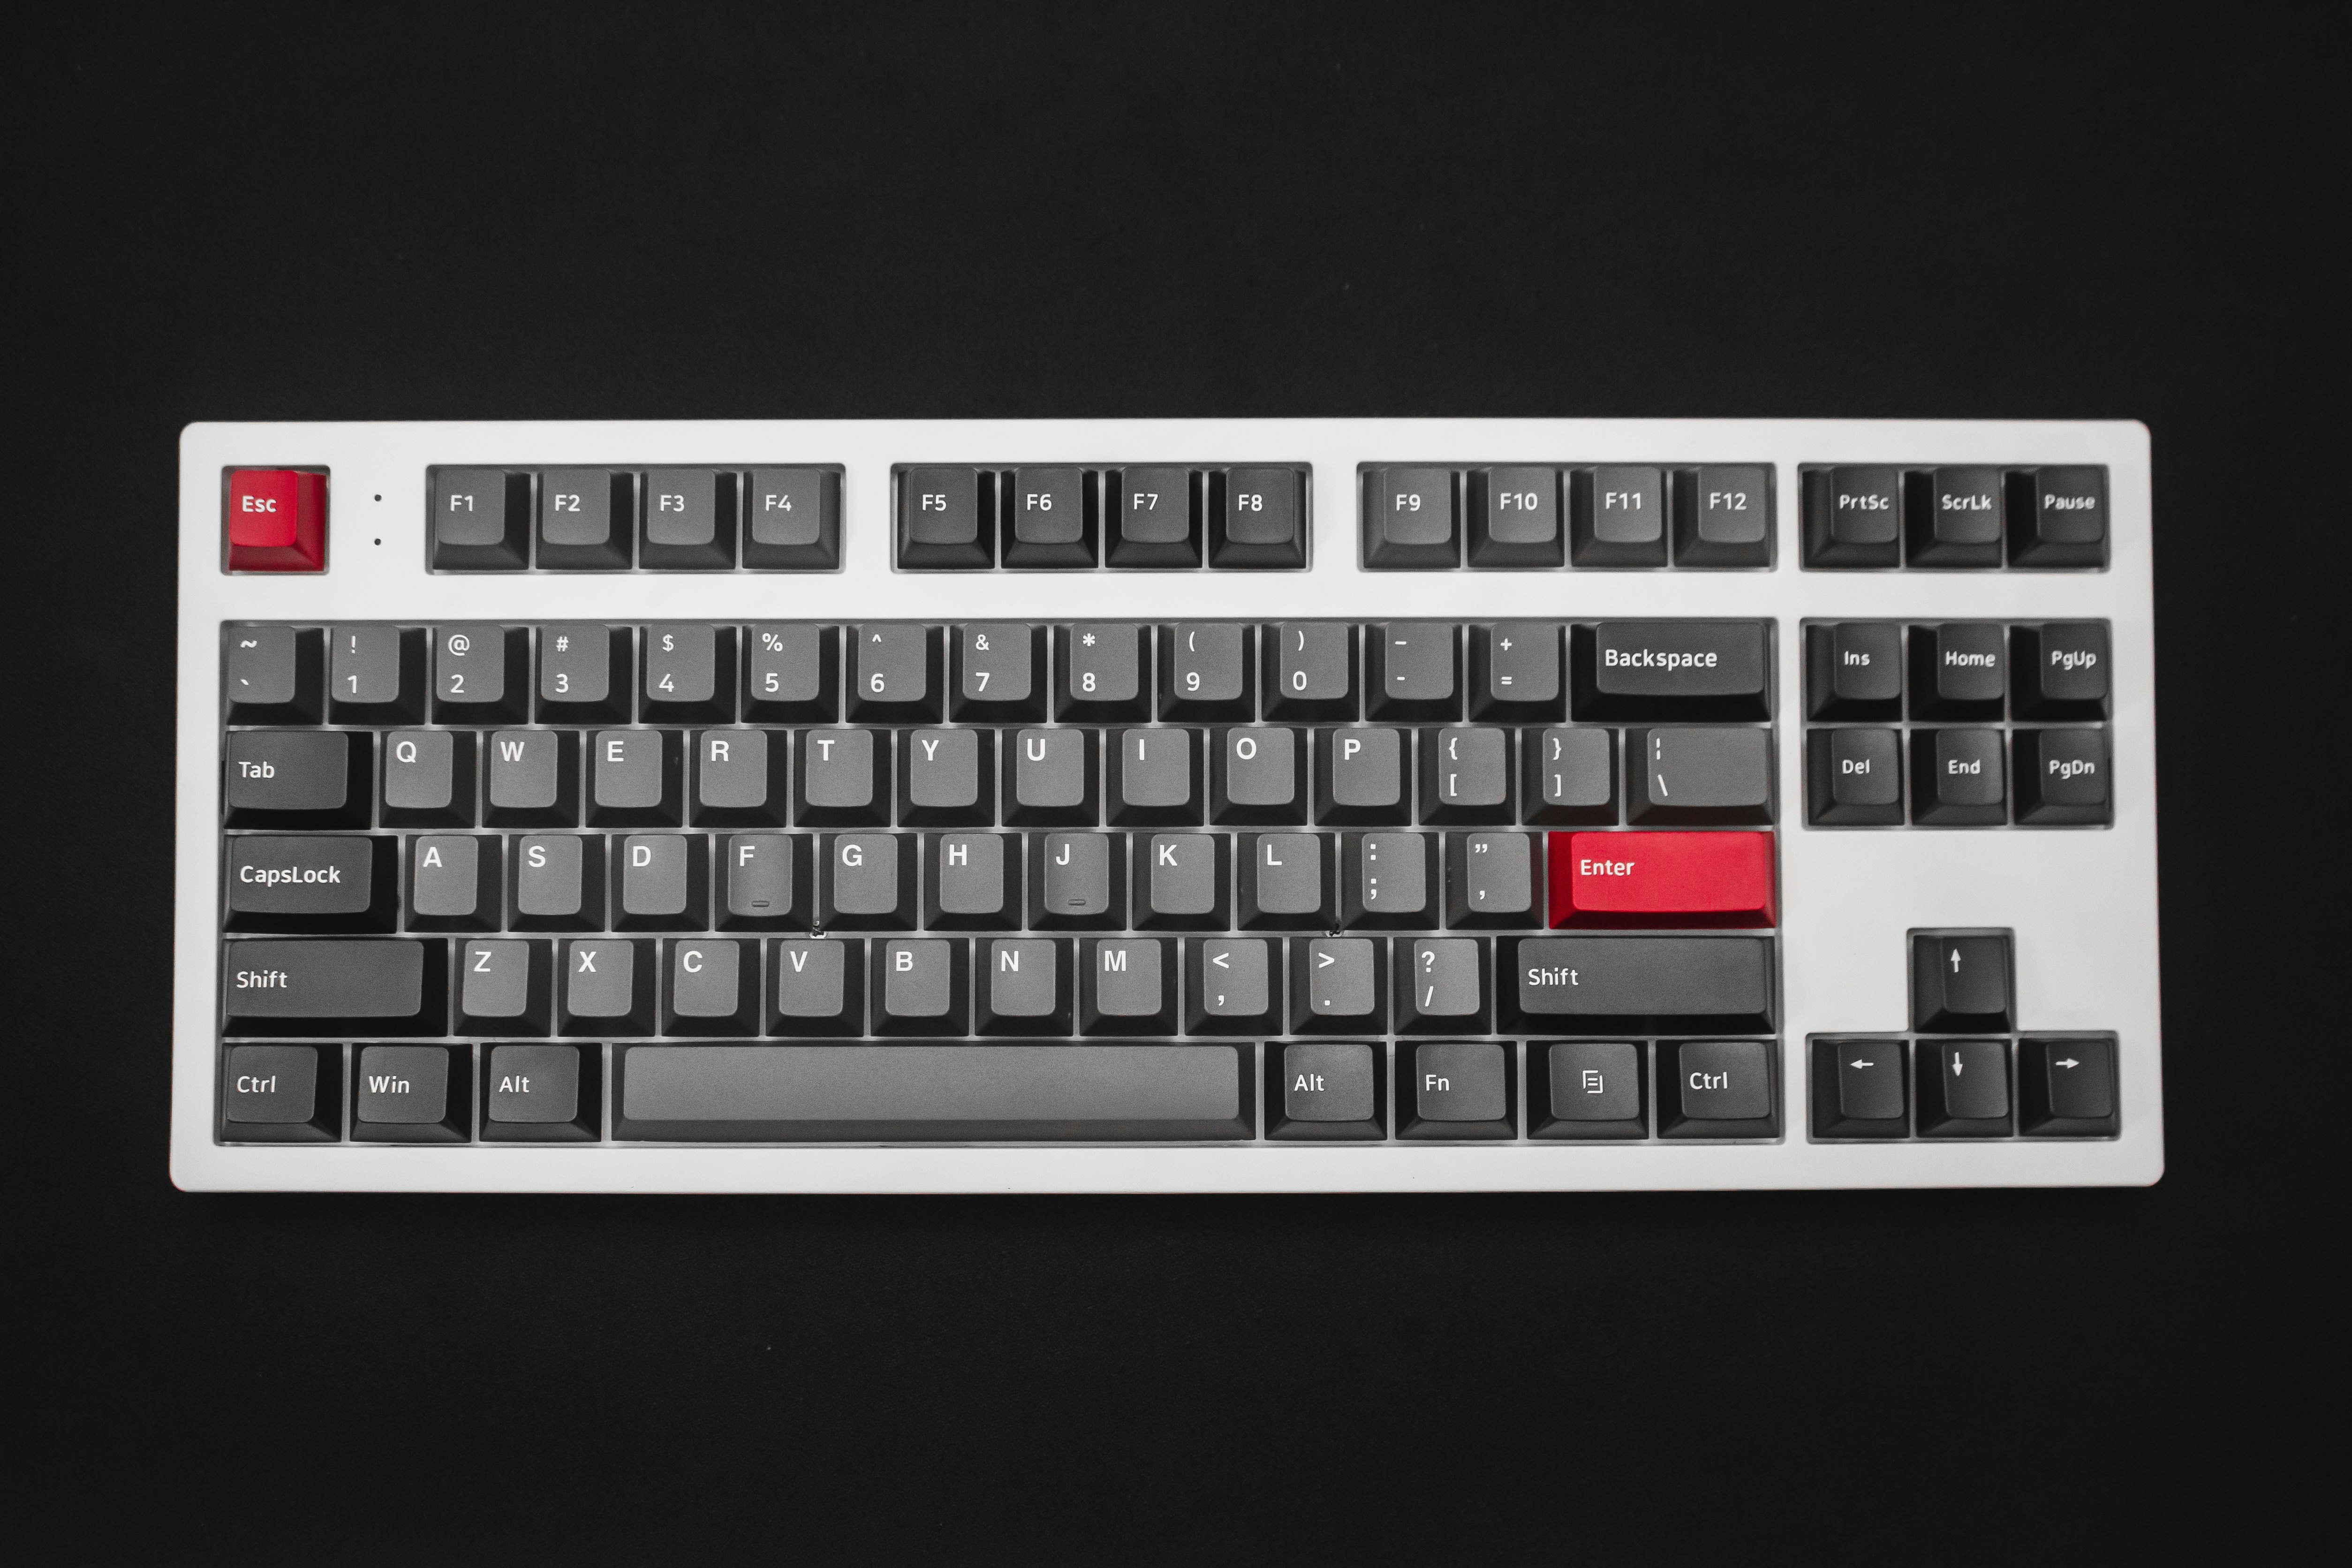
Choosing Your Parts: Barebone Kit, Switches, and Keycaps
Building a custom mechanical keyboard starts with selecting the right components. The foundation is the barebone kit, which includes the case, PCB (printed circuit board), and plate — everything except switches and keycaps. For beginners, a hot-swappable barebone kit is strongly recommended as it allows you to install switches without soldering. Popular starter options include the Keychron V-series, GMMK Pro, or Tofu60/65 kits.
Next, choose your switches based on preference:
- Linear — smooth, quiet
- Tactile — bump without click
- Clicky — audible click
Budget around 70-90 switches for a TKL or smaller board, always buying a few extras. Finally, select keycaps — ensure they match your layout's modifier sizes and are compatible with your switch stem type (Cherry MX-style is most common).
PBT keycaps are more durable and develop a nicer texture over time compared to ABS.
Assembly Steps
Begin assembly on a clean, static-free surface. If your barebone kit requires stabilizer installation, do this first — clip, lube, and install stabilizers onto the PCB before anything else. Next, place the PCB into the case (or onto the mounting system if gasket-mounted), ensuring all mounting points align. If your kit isn't hot-swappable, this is when you'd solder switches; for hot-swap, simply align each switch's pins with the socket and press firmly until you hear a click.
Install switches in rows, periodically checking that pins haven't bent. After all switches are installed, plug in the keyboard and use VIA or Vial software to test every key.
Once verified, install your keycaps by pressing each one firmly onto its switch stem, using your reference photo of the layout.
Lubing Stabilizers
Stabilizers are the most critical component for keyboard sound quality — unlubed stabs produce unpleasant rattling that ruins an otherwise premium build. Remove each stabilizer, disassemble the housing and stem, and apply dielectric grease to the wire ends where they insert into the stem. Apply Krytox 205g0 to the stem sliders and housing contact points. For the best results, many builders also perform the Holee mod (adding a small piece of fabric bandage inside the stem to cushion wire impact) or use stabilizer pads between the PCB and stabilizer housing.
Reassemble and test each stabilizer by pressing the stabilized key and listening for any rattle — this is much easier to fix now than after the full build is complete.
Testing Your Build
Before closing up the case and declaring the build complete, thorough testing is essential. Use VIA, Vial, or a browser-based key tester to verify every single key registers correctly. Test each stabilizer key (spacebar, Enter, Backspace, Shift) multiple times from different angles. Listen for any pinging sounds from springs, scratchiness in switches, or rattle in stabilizers.
Check that all RGB lighting works if your PCB supports it. This is also the time to flash any custom firmware or configure your keymap.
Spend at least 10-15 minutes testing — it's much easier to fix issues now than after you've closed everything up.
Popular Mods: Tape Mod and Force Break
The tape mod is one of the simplest and most effective keyboard modifications. Apply 2-3 layers of masking tape or painter's tape to the back of the PCB (covering the entire surface) before installing it in the case. This absorbs high-frequency vibrations and shifts the sound profile toward a deeper, more satisfying "thock." The force break mod addresses case ping — place small strips of tape between the top and bottom case halves at the screw mounting points to prevent metal-on-metal contact that causes high-pitched ringing. Other popular mods include the PE foam mod (placing a thin sheet of PE foam between the PCB and plate), adding case foam or silicone pour for weight and sound dampening, and the O-ring mod for gasket-mounted boards.
These mods can transform a budget kit into something that sounds competitive with keyboards costing twice as much.